> For the complete documentation index, see [llms.txt](https://davidson-library.gitbook.io/systems-documentation/llms.txt). Markdown versions of documentation pages are available by appending `.md` to page URLs; this page is available as [Markdown](https://davidson-library.gitbook.io/systems-documentation/alma-digital/syllabi.md).
# Syllabi
## Description
Davidson College Library collects course syllabi through user-deposits in Alma. This empowers users in the metadata creation process and it alleviates processing time for library workers. Alma Digital (know as Digital Davidson) is a centralized place for current students, faculty, and staff to view past syllabi for a variety of purposes, e.g., curriculum assessment, text analysis, course planning, and accreditation. This section of the documentation is intended for those processing syllabi in Alma (library workers).
## Table of Contents (TOC)
There are two configuration/admin files here [Syllabi Process Configuration](https://github.com/Davidson-Library/Systems-Documentation/blob/main/syllabi/Syllabi-Process-Configurations.md) and [Bulk Download and Renaming Process](https://github.com/Davidson-Library/Systems-Documentation/blob/main/syllabi/Bulk-Download-and-Renaming-Syllabi-Process.md). These are the first (setup) and last (preservation) steps, that sandwich the approval process. There are five tracks in approval process workflow. You can use the TOC to navigate around or click through each page separately with the ["Next" button](https://davidson-college-library.gitbook.io/systems-documentation/alma-digital/syllabi/simple-deposits) at the bottom of each page. Before diving into each track, let's get set up in Alma.
* [Syllabi Process Configuration and Setup in Alma for Each Term](#syllabi-process-configuration-and-setup-in-alma-for-each-term)
* [Approval Process](#approval-process)
* [Log in to Alma](#log-in-to-alma)
* [Simple Deposit Track](#simple-deposit-track)
* [Missing/Incomplete Title](#missingincomplete-title)
* [Conflicting Access Rights Statements](#conflicting-access-rights-statements)
* [Admissions Access in MD Record](#admissions-access-in-md-record)
* [Opt-out](#opt-out)
* [Bulk Download and Renaming Process](#bulk-download-and-renaming-process)
### [Syllabi Process Configuration and Setup in Alma for Each Term](https://github.com/Davidson-Library/Systems-Documentation/blob/a0076a40f004b28849b69d6e5893ef7caca6c007/alma-digital/syllabi/Syllabi-Process-Configurations.md)
### Approval Process
#### Log in to Alma
Login and Initial Setup
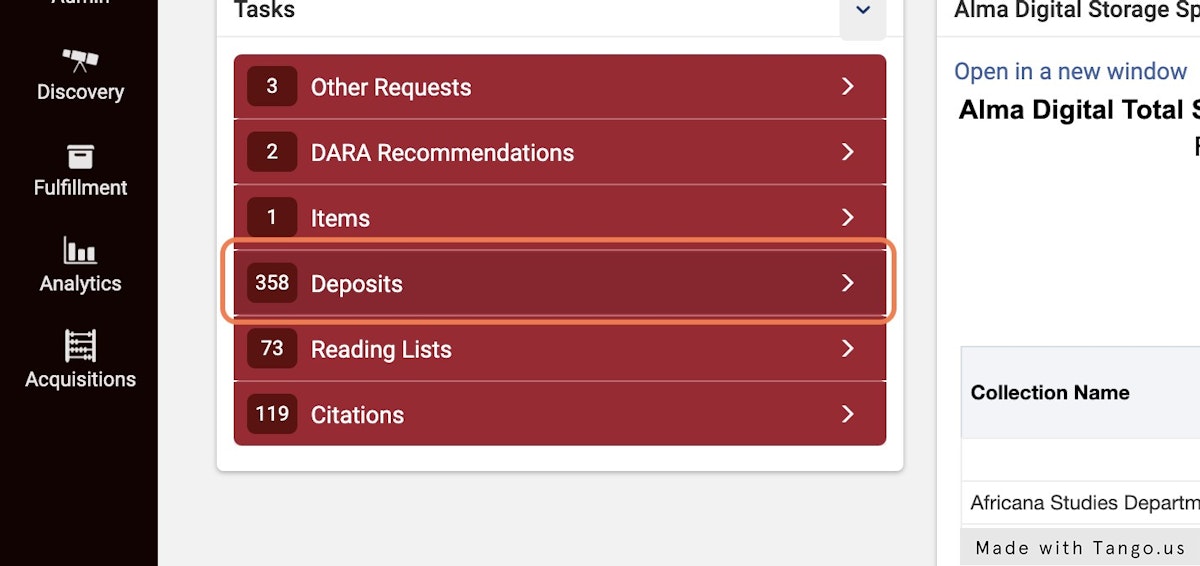
**Click on Deposits under Tasks**
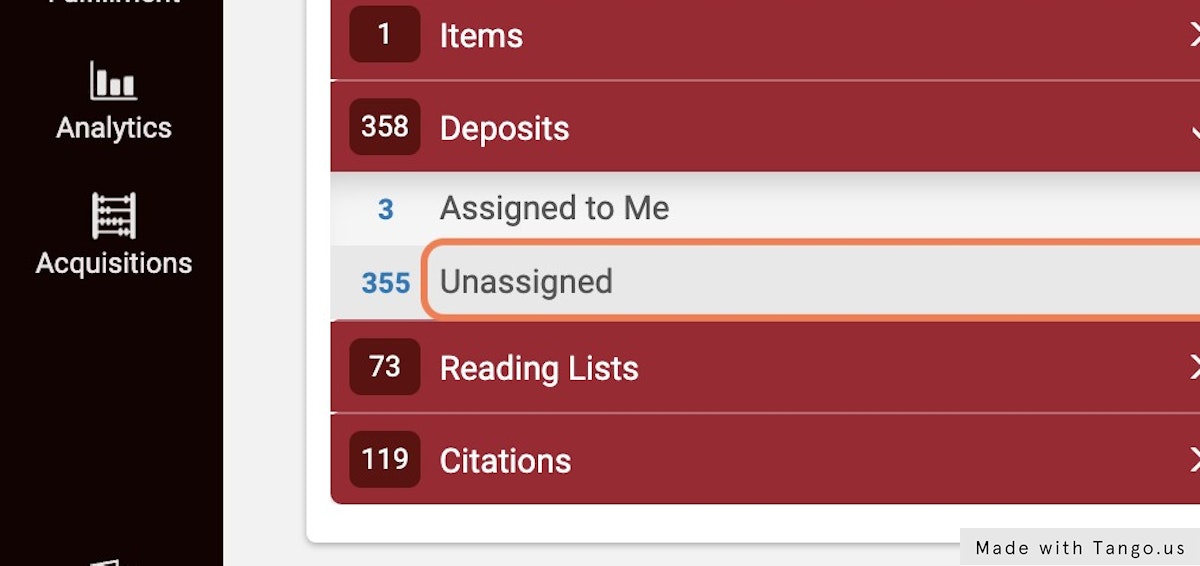
 **Click on Unassigned**
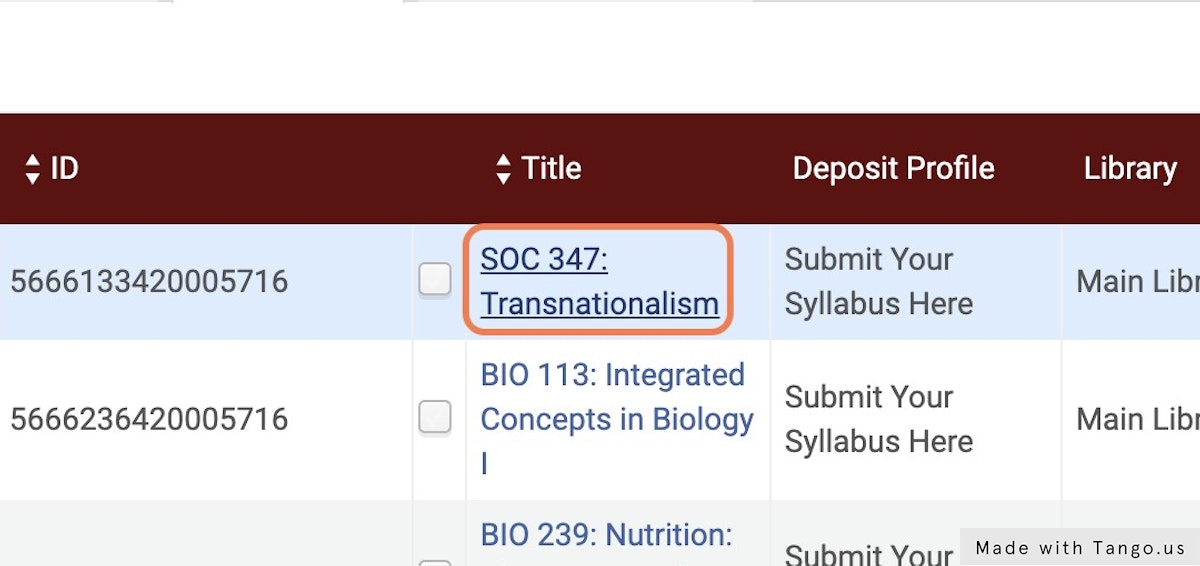
 **Click on the first Title link, e.g., SOC 347: Transnationalism**
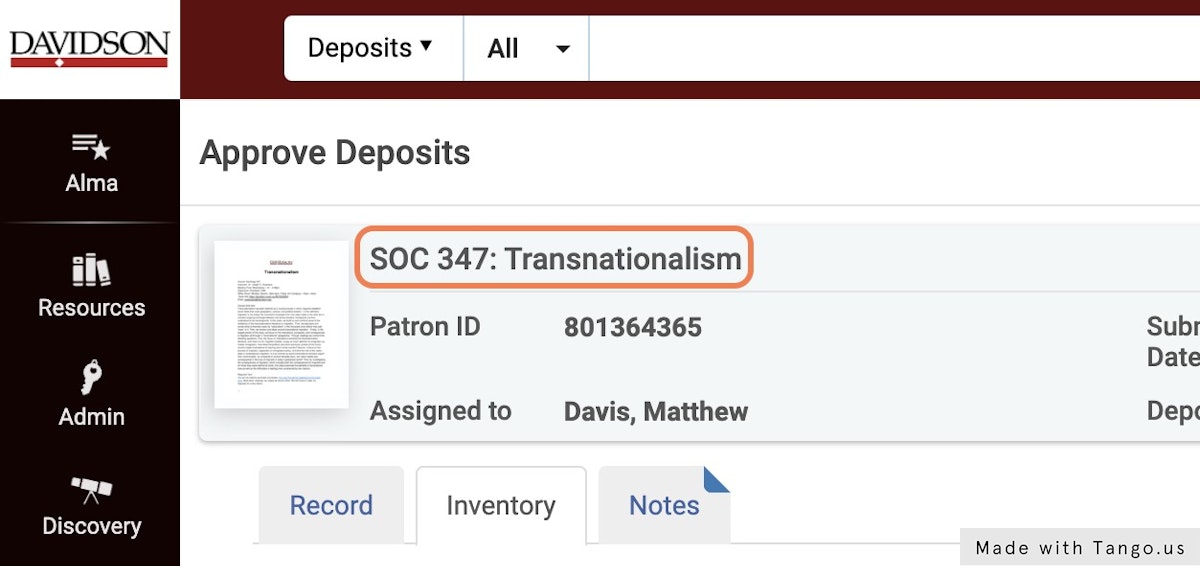
 **Verify the Title follows the following pattern ABC 101: Course Title**
#### Simple Deposit Track
Click for Simple Deposit
If it's complete (ABC: Course Title), continue below. This is an example of a deposit that has nothing to edit or add. It simply needs approval.
If it has an access statement for Admission, conflicting access statements, or opt-out, continue below.
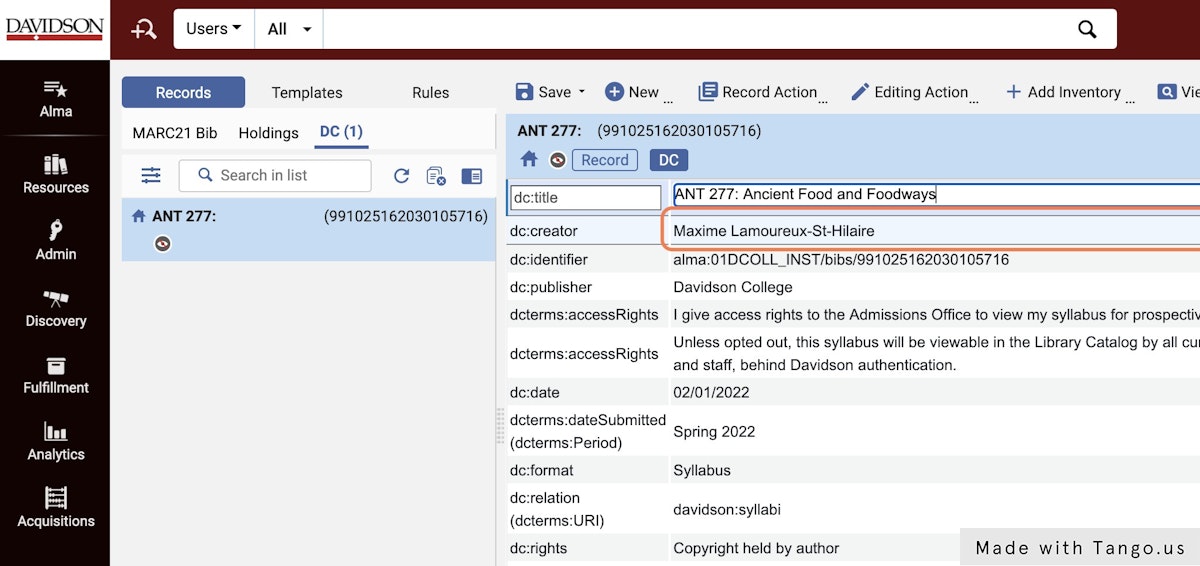
**Click on the Record tab**
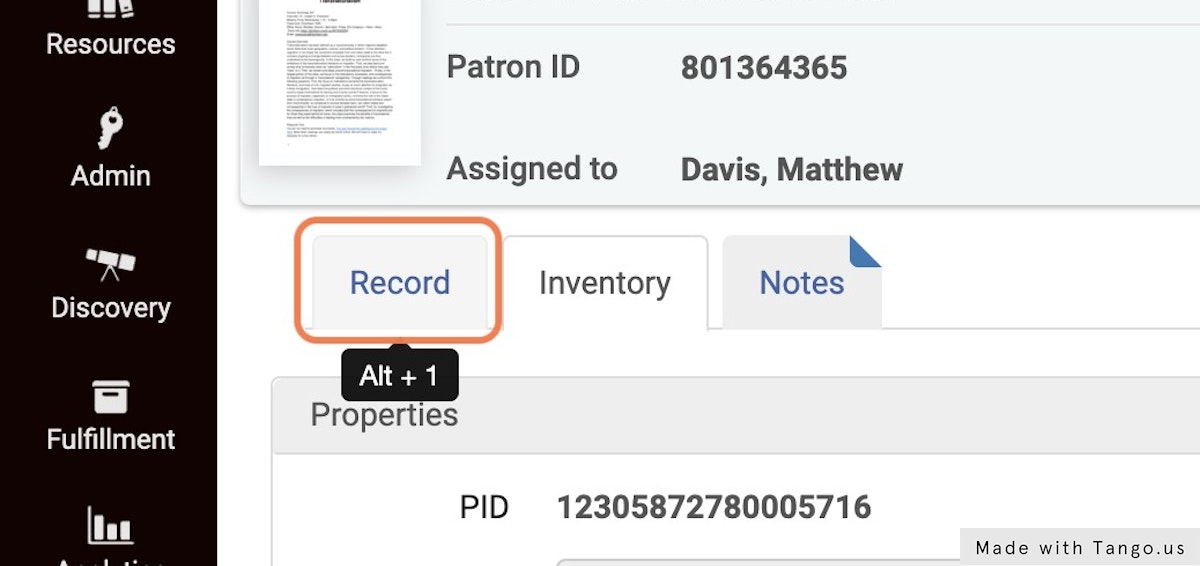 **Check Access Rights Statement(s)**
This is an example of a basic/simple approval process as the instructor hasn't opted out nor given extra access to Admissions and the title is complete. 
**Click on Approve**
Confirm the approval and move on to the next deposit. 
**Check Access Rights Statement(s)**
This is an example of a basic/simple approval process as the instructor hasn't opted out nor given extra access to Admissions and the title is complete. 
**Click on Approve**
Confirm the approval and move on to the next deposit. 
#### Missing/Incomplete Title
Click for missing/incomplete title
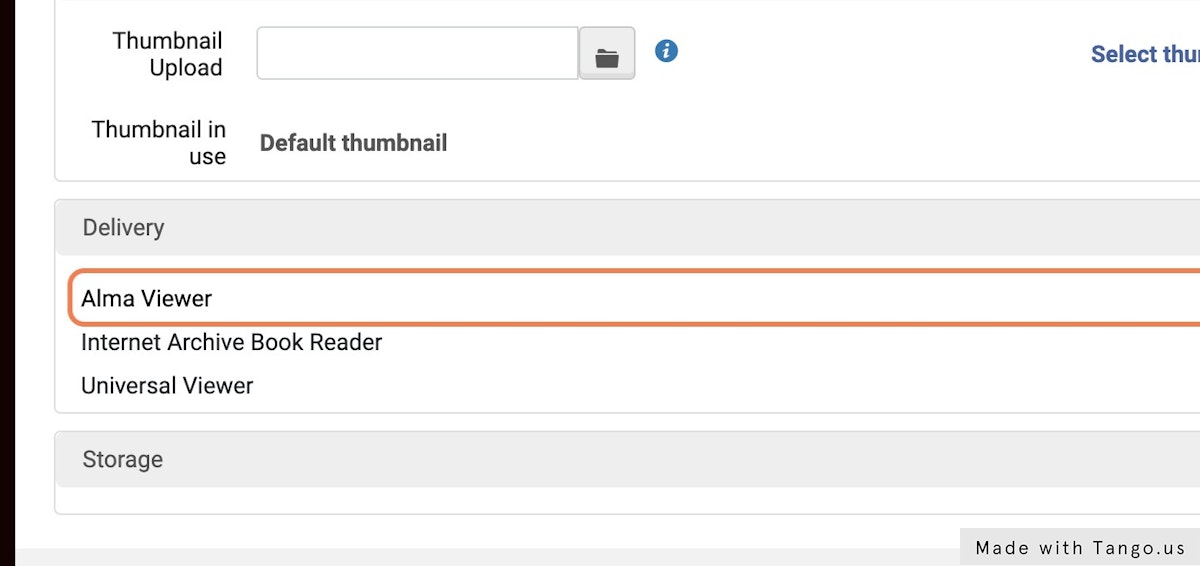
If the title is incomplete in the MD Record, e.g., ABC 123 \[missing course title], Click on Edit Representation 
**Click on Alma Viewer**
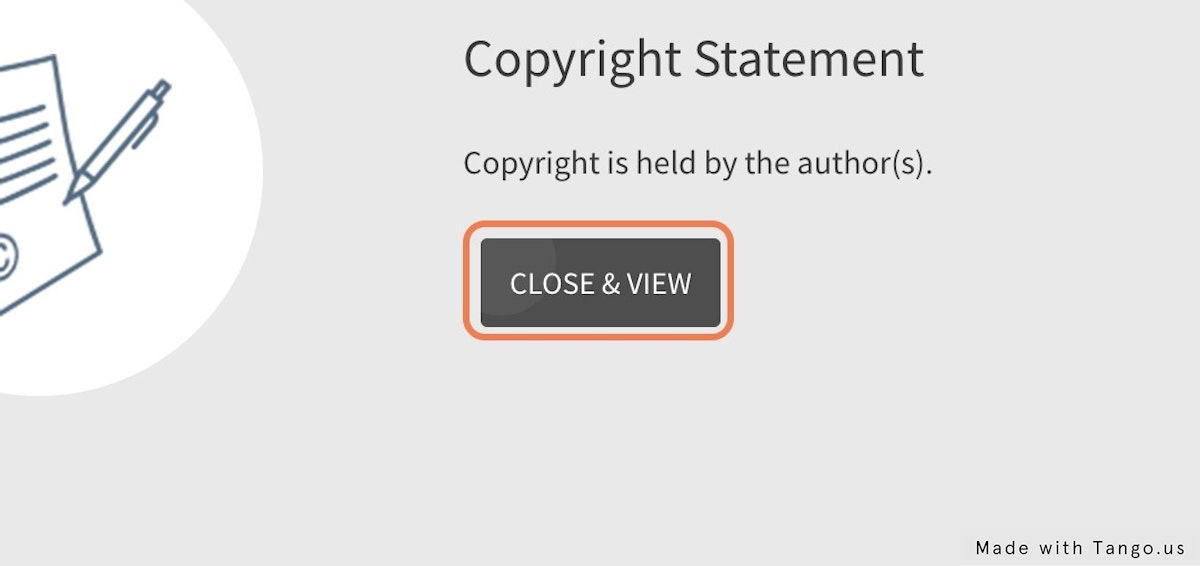
 **Click on CLOSE & VIEW**
 **Copy Complete Course Info**
Highlight and copy the title text (or whatever's missing from Course Code: Course Title) 
**Click on Cancel**
**Copy Complete Course Info**
Highlight and copy the title text (or whatever's missing from Course Code: Course Title) 
**Click on Cancel**
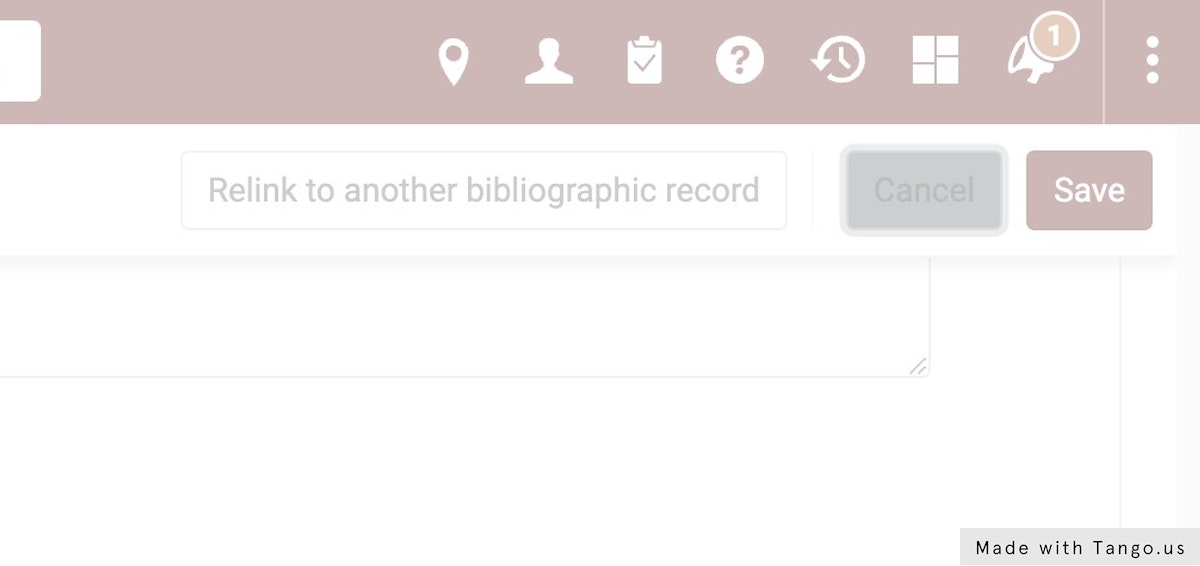 **Click on Record**
 **Click on Edit Record**
 **Fix/Paste Complete Course Info**
 **Click on the down-triangle next to Save**
 **Click on Save and Release Record**
This will move the deposit to "Assigned to Me" under the Deposit Tasks. I tend to work through a couple dozen before approving multiple at a time (below). 
**Select the items you want to bulk approve**
These are typically the items that you have to edit the title in the MD record. Unfortunately, the title doesn't update in the title column, but if you check the Record tab, the complete course info that you copied is there. 
**Click on Process Selected**
**Click on Save and Release Record**
This will move the deposit to "Assigned to Me" under the Deposit Tasks. I tend to work through a couple dozen before approving multiple at a time (below). 
**Select the items you want to bulk approve**
These are typically the items that you have to edit the title in the MD record. Unfortunately, the title doesn't update in the title column, but if you check the Record tab, the complete course info that you copied is there. 
**Click on Process Selected**
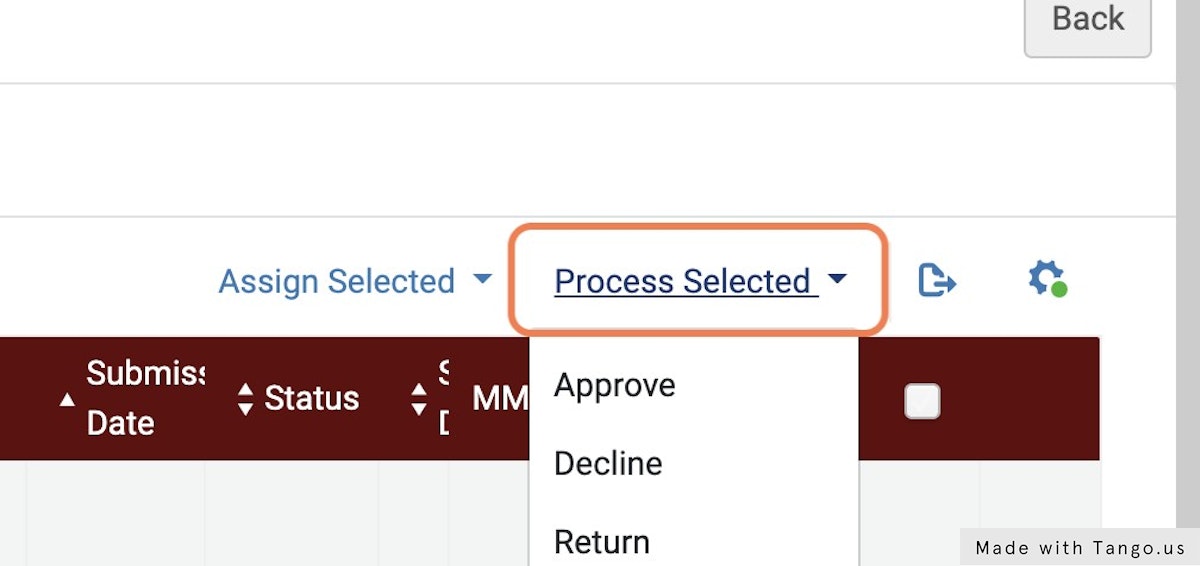 **Click on Approve**
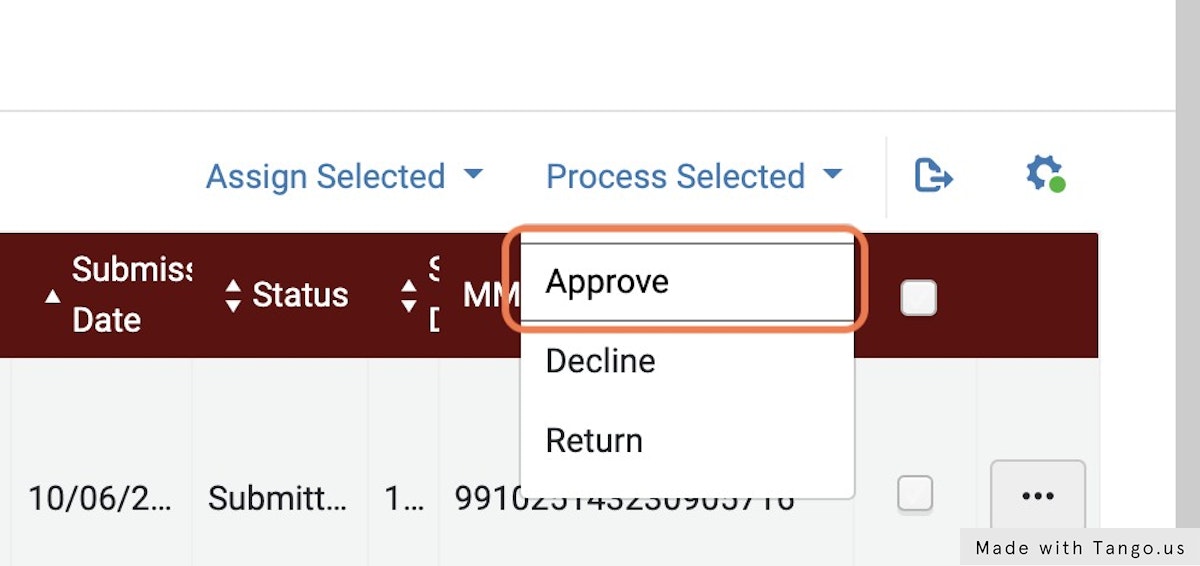 **Verify with the pop-up message "X Deposit(s) approved successfully"**
Move on to the next items to approve. 
**Verify with the pop-up message "X Deposit(s) approved successfully"**
Move on to the next items to approve. 
#### Conflicting Access Rights Statements
Click for conflicting Access Rights Statements
Below is a contradictory example of access statements. The instructor selected both "opt-out" and gave "Admissions special access." If a deposit has conflicting access rights in the MD record, you can return the deposit and the instructor will re-select one of the checkboxes rather than both. 
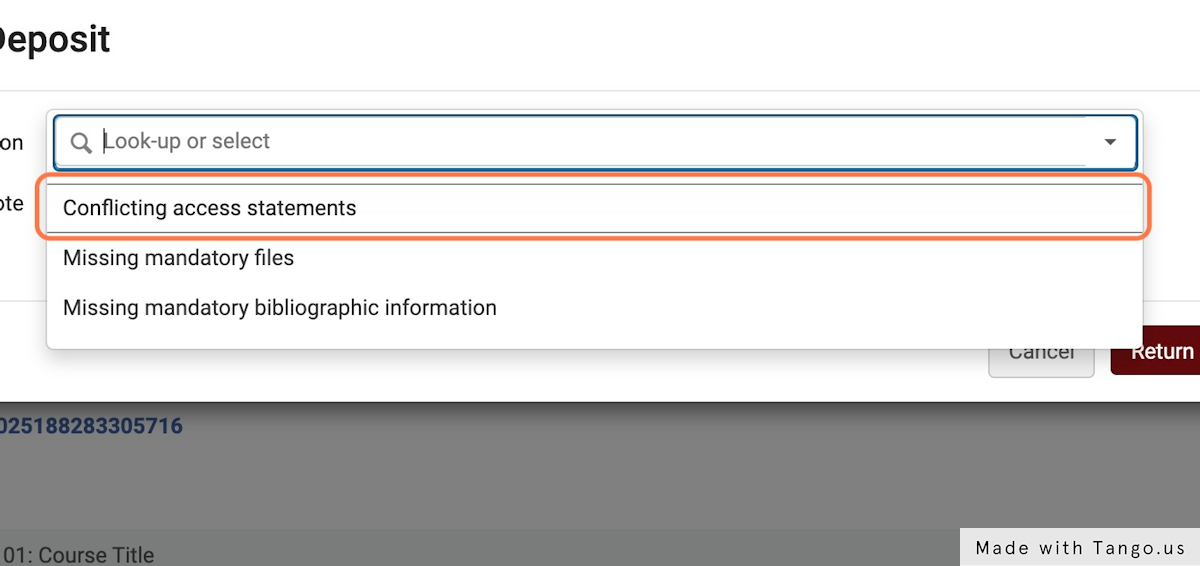
**Click on Return**
 **Click on Conflicting access statements**
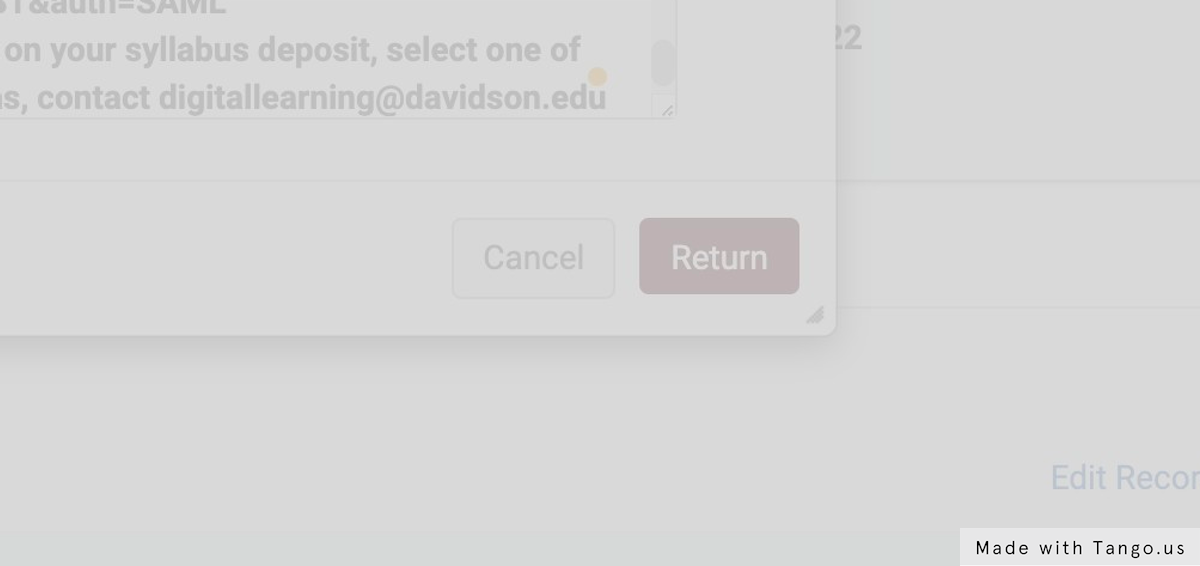
 **Copy/Paste text below into text area in Alma**
Thanks for your syllabus deposit. We need clarification on the access you want to provide for viewing. Your syllabus can only have one check box checked for access.
After logging in with the above link, please click the Edit button on your syllabus deposit, select one of the two checkboxes for access, then click submit. If you have any questions, contact 
**Click on Return**
**Copy/Paste text below into text area in Alma**
Thanks for your syllabus deposit. We need clarification on the access you want to provide for viewing. Your syllabus can only have one check box checked for access.
After logging in with the above link, please click the Edit button on your syllabus deposit, select one of the two checkboxes for access, then click submit. If you have any questions, contact 
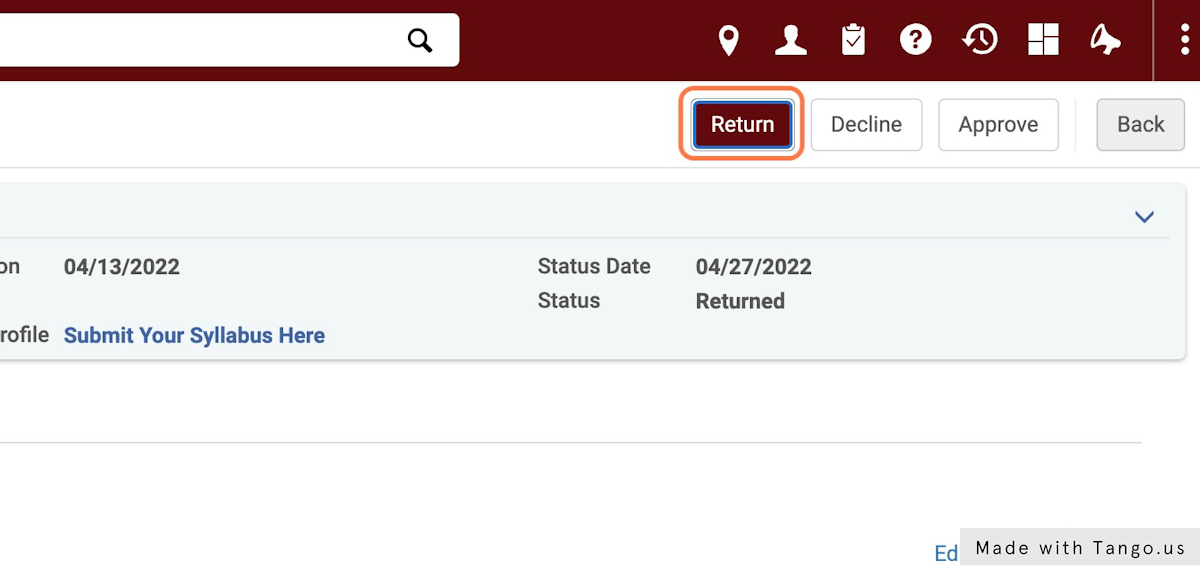
**Click on Return**
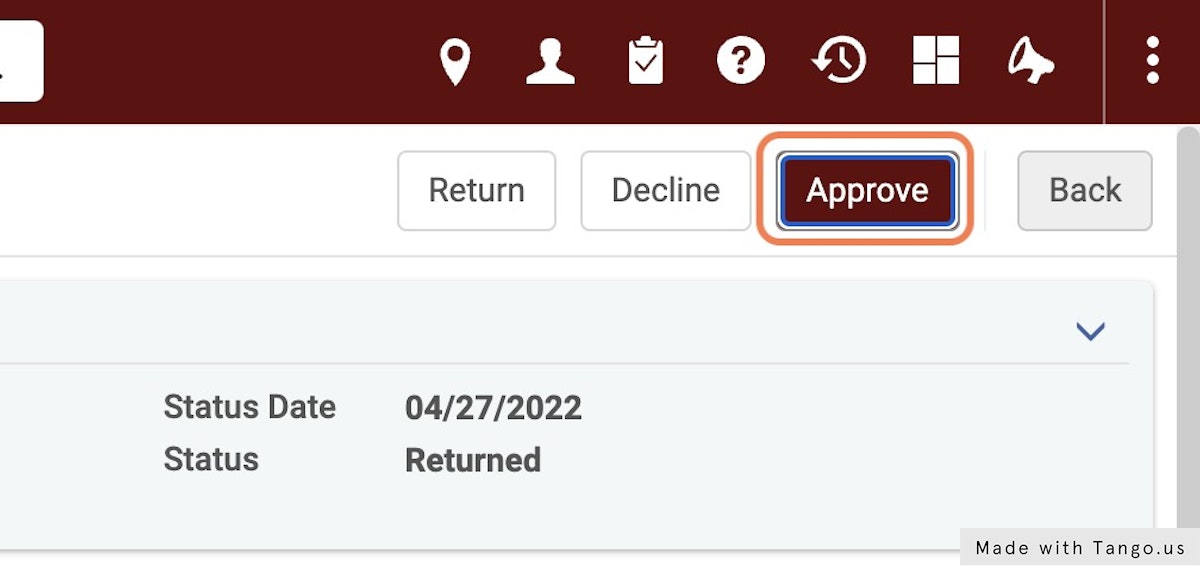
 **Verify "Returned" Status**
The status for the deposit now reads "Returned" 
**Verify "Returned" Status**
The status for the deposit now reads "Returned" 
#### Admissions Access in MD Record
Click for Admissions Access
Click on the Record tab to verify the access rights statement 
**Admissions Access Rights Statement**
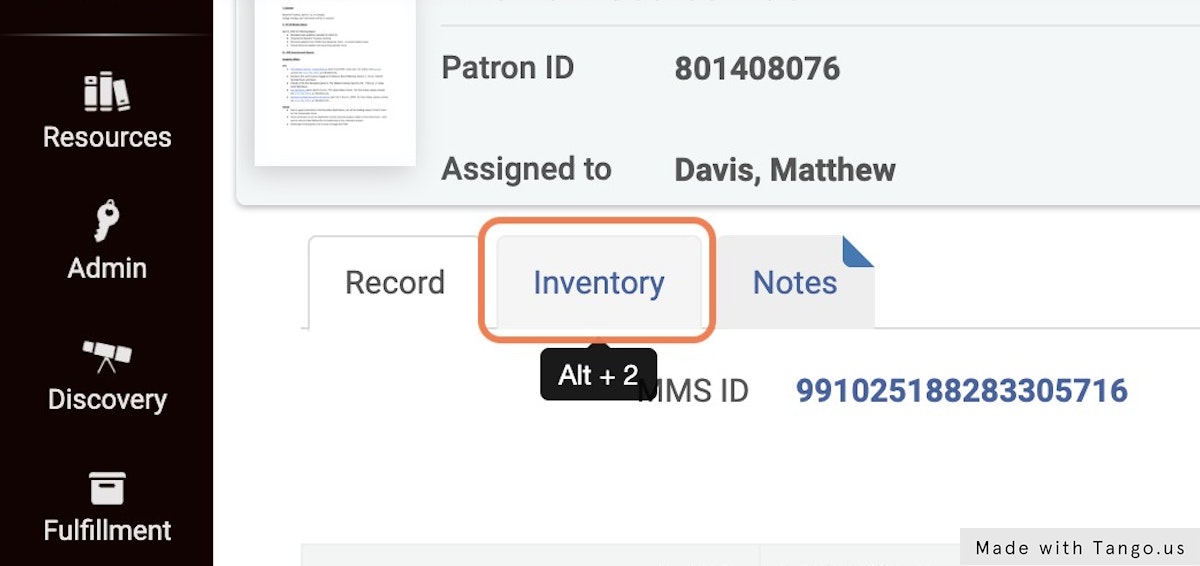
If the instructor has selected the access statement for Admissions to view the syllabus for planning campus visits, the access statement needs editing in the Inventory tab. 
**Click on Inventory**
This is where you can change the access rights policy, default, opt-out, or admission access. 
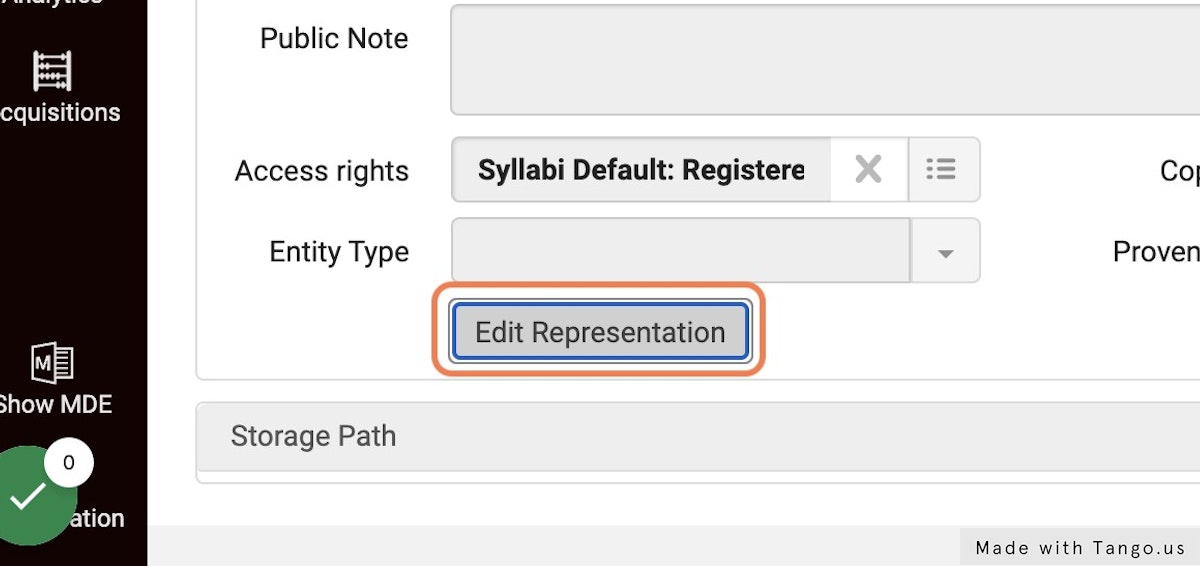
**Click on Edit Representation**
 **Click on X**
Click the X to remove the current policy. 
**Click on Syllabi\_Admissions: View and Download (special permissions)**
**Click on X**
Click the X to remove the current policy. 
**Click on Syllabi\_Admissions: View and Download (special permissions)**
 **Click on Save**
 **Click on Approve**
Confirm the approval and move on to the next deposit. 
**Click on Approve**
Confirm the approval and move on to the next deposit. 
#### Opt-out
Click for Opt-out
If the deposit has "Opt-out" then we'll need to update the access rights statement. 
**Click on Inventory**
 **Click on Edit Representation**
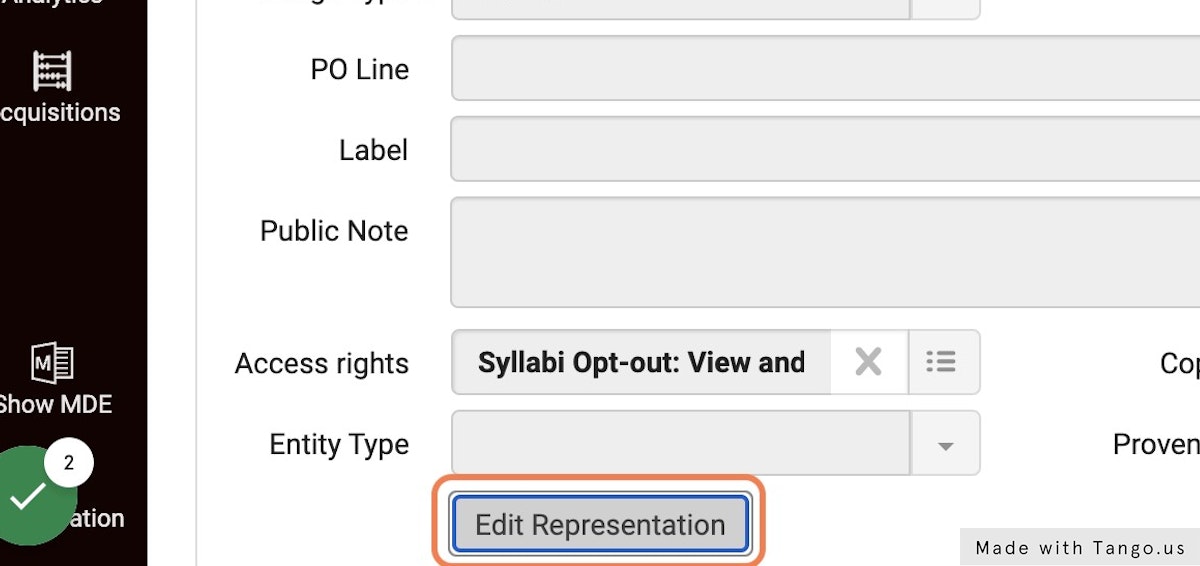 **Select Syllabi\_Opt-out: View and Download (special permissions)**
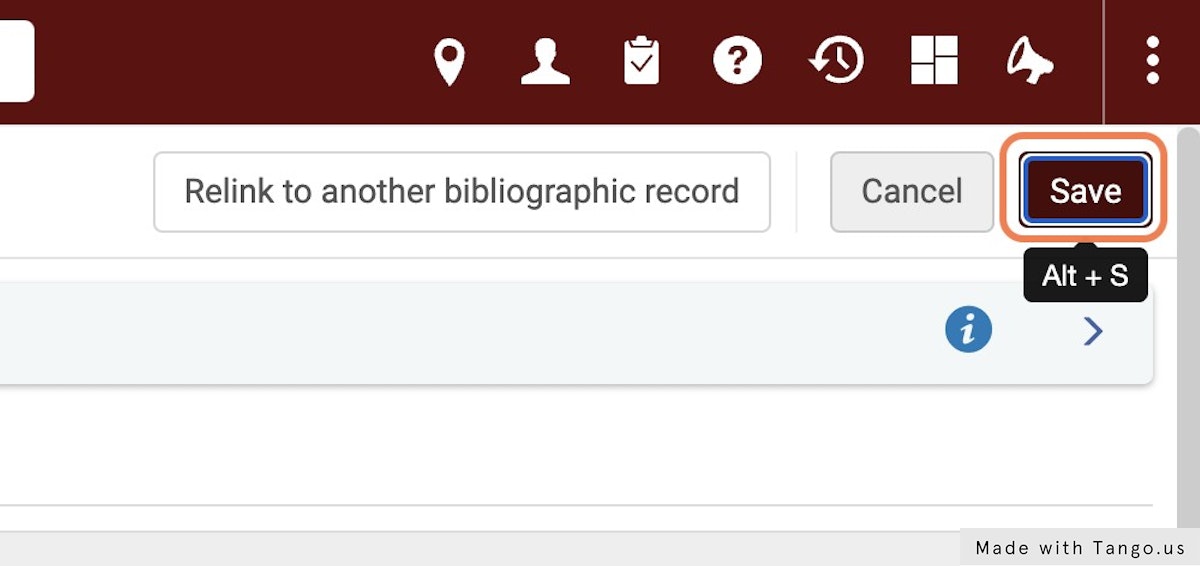
 **Click on Save**
 **Click on Approve**
### [Bulk Download and Renaming Process](https://github.com/Davidson-Library/Systems-Documentation/blob/a0076a40f004b28849b69d6e5893ef7caca6c007/alma-digital/syllabi/Bulk-Download-and-Renaming-Syllabi-Process.md)